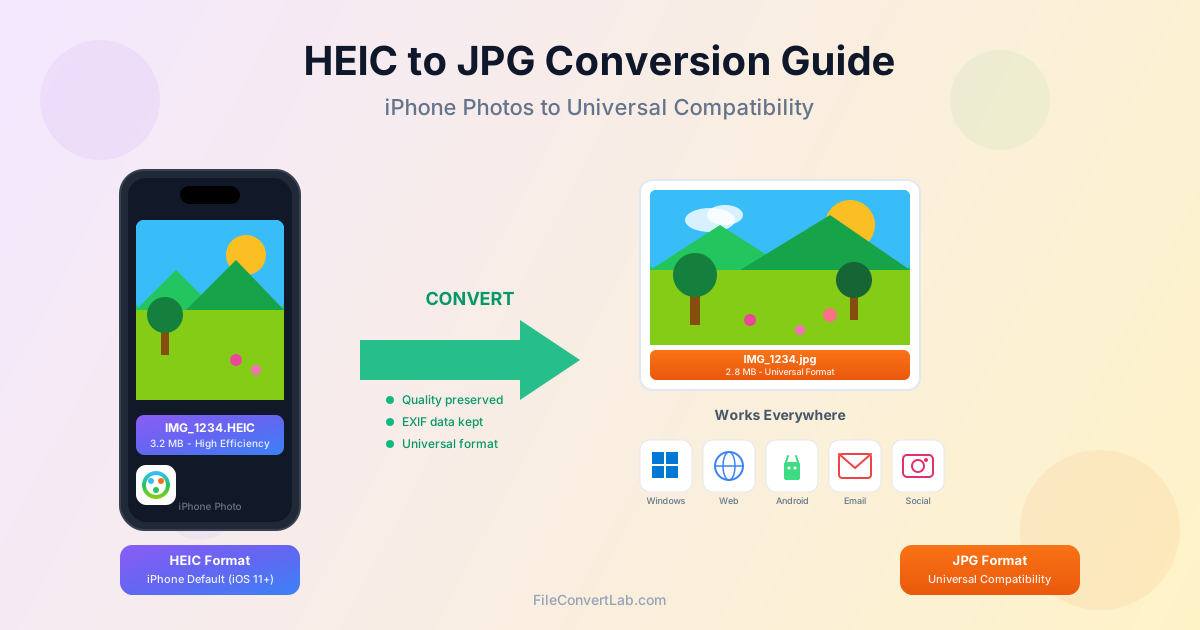
To convert HEIC to JPG, upload the iPhone photo to a HEIC to JPG converter, keep the quality at 90 (or move the slider) and download the JPG — up to 20 photos at a time, with a ZIP of all results. If you'd rather never deal with HEIC again, switch the iPhone camera to Most Compatible and it will shoot JPG from then on.
HEIC (High Efficiency Image Container) has been the iPhone's default photo format since iOS 11. It saves space on the phone, but Windows PCs without the right extensions, many upload forms, older software and some print services still expect JPG. This guide covers the conversion, the settings that matter, what happens to metadata, and how to stop the iPhone creating HEIC files.
What Is HEIC and Why Does iPhone Use It?
HEIC is Apple's name for images stored in the HEIF format (High Efficiency Image File Format), a standard from the Moving Picture Experts Group (MPEG). The picture inside is compressed with HEVC (H.265), the same technology iPhones use for video.
Apple chose it for smaller files at the same visual quality, which matters on a phone whose storage can't be expanded. HEIF can also hold things a JPG can't:
- More than 8 bits per colour channel — JPEG is limited to 8, so HEIF can keep smoother gradients
- Transparency (an alpha channel)
- Several images in one file — used for depth maps and similar extras
- Edits stored alongside the original rather than baked in
JPEG, standardized in 1992, can do none of this — but it opens everywhere, and that's the whole reason to convert.
Why Convert HEIC to JPG
Windows PCs
Windows 10 and 11 only open HEIC photos after you add Microsoft's HEIF and HEVC extensions. On a PC without them, iPhone photos show up as files nothing will open. For the Windows side of the problem — extensions, the Photos app and converting on a PC — see how to convert HEIC to JPG on Windows.
Websites and Upload Forms
Plenty of forms, job portals, marketplaces and content systems accept only JPG and PNG. A JPG upload removes the "unsupported file type" error.
Email and Messaging
Some email clients and webmail services can't preview HEIC attachments, so the recipient sees an unknown file. JPG previews everywhere.
Printing
Many online photo services and kiosks expect JPEG. Converting first avoids a rejected order.
Older Software
Current Photoshop and Lightroom read HEIC; older versions and many other editors don't.
How to Convert HEIC to JPG: Step-by-Step
One Photo
- Open the HEIC to JPG converter
- Drag your HEIC photo onto the page, or click to browse for it
- Leave Quality at 90 or move the slider (10–100)
- Click Convert and download the JPG
- Open the JPG and check it before deleting the original
Batch Convert HEIC Photos to JPG
- Get the HEIC photos onto the device you're using (USB cable, AirDrop or iCloud Photos)
- Open the HEIC to JPG converter
- Select up to 20 files — Ctrl-click (Windows) or Command-click (Mac), or drag them onto the page together
- Click Convert all files
- Download each JPG separately or all of them as one ZIP
More than 20 photos? Run several batches. Each file still has to fit your plan's size limit (100 MB as a guest — far more than any phone photo).
HEIC to JPG Quality Settings
JPG is lossy, so the quality setting trades detail against size. The converter's slider runs from 10 to 100 and starts at 90:
- 95–100 — for archiving and printing; the biggest files
- 85–94 — the everyday range; artefacts are very hard to spot
- 70–84 — fine for web pages and email
- Below 70 — thumbnails only; blockiness starts to show
What does that mean in megabytes? In our test through the converter, a 5712×4284 photo from an iPhone 15 Pro Max was 2.0 MB as HEIC and 2.7 MB as a JPG at quality 90. Expect the JPG to be larger than the HEIC — that's the efficiency you give up for compatibility.
Quality Preservation Tips
Start with Original Files
Convert the original HEIC, not a screenshot or a copy that was already compressed by a messenger. Every extra round of compression loses detail.
Convert Once
Going HEIC → JPG → another format → JPG stacks the losses. If you need several formats, start each one from the original HEIC.
Match the Setting to the Use
- Printing: quality 95 or higher, and check the pixel size is enough for the print with the image DPI checker
- Social media: 80–90 is plenty; the platforms recompress uploads anyway
- Email: 80–85 keeps files smaller
- Web galleries: resize large photos as well as lowering quality
Keep the Original
Keep the HEIC files if you have the space. They hold more data and can be converted again later with different settings.
Does HEIC to JPG Keep the Date and Location?
EXIF metadata records when and where a photo was taken, the camera and the lens settings. In our test, the converted JPG kept the date, the iPhone model and the GPS coordinates of the original HEIC.
That's good for photo libraries and bad for privacy: a JPG you post can reveal where it was taken. To strip it before sharing, run the JPG through Remove EXIF, which removes the metadata in one step. For more on what survives the conversion on a PC, see the Windows HEIC to JPG guide.
HEIC to PNG Instead of JPG?
PNG is lossless, so it's the pick when you'll keep editing the image or need a transparent background. For photos, PNG files come out much larger than JPG with no visible benefit. Use the HEIC to PNG converter only when you specifically need lossless output or transparency.
How to Stop Your iPhone Taking HEIC Photos
If you mostly need JPG, change the capture format once:
- Open Settings
- Tap Camera
- Tap Formats
- Choose Most Compatible instead of High Efficiency
New photos are then saved as JPG and videos as H.264. The price is bigger files and losing HEIF-only features.
Prefer to keep HEIC on the phone? Go to Settings → Photos → Transfer to Mac or PC and choose Automatic. The iPhone then hands over JPGs when you copy photos to a computer by cable.
Common HEIC to JPG Problems
The JPG Looks Different
- Quality set too low: raise the slider and convert again
- Colour profile: some viewers show colours differently; compare in two apps before blaming the file
- HDR photos: HEIC can store HDR detail that a standard JPG can't show, so bright areas may look flatter
The JPG Is Bigger Than the HEIC
That's normal — JPG compresses less efficiently. Lower the quality or reduce the pixel dimensions if size matters.
Live Photos, Portrait Mode and Depth
- A Live Photo converts to its still image only — the motion part isn't a photo
- Portrait-mode depth data doesn't carry into the JPG — you get the flat image
"This HEIC Image Could Not Be Decoded"
The copy is usually incomplete, or saved in an unusual HEIC variant. Export the photo again from the Photos app (Share → Save to Files) and retry with the new copy.
The Photo Is Rotated
If a JPG appears sideways in one app but not in another, the app is ignoring the orientation tag. Rotate the image once in any editor and save it — the rotation is then part of the pixels.
Related Conversion Tools
- HEIC to JPG: convert iPhone photos to JPEG
- HEIC to PNG: lossless output with transparency
- Remove EXIF: strip location and camera data before sharing
- PNG to JPG: smaller files from PNG photos
- WebP to JPG: convert WebP images to JPEG